Vermont is THE heaven for maple syrup fans! This small state in the Northeast of the US is producing about 50% of its maple syrup and remains the top producing state with around 6.35 million taps put out in 2023.
Before I first came to Vermont in September 2021 I had no clue about all of this. I wasn’t aware of this industry and I had no clue that you could use maple syrup not only for putting it on your pancakes or use it as a substitute for sugar. Let alone the different types of syrup and the whole range of different products made from the sweet sap running from maple trees every year.
Maple syrup, maple sugar, maple cream, maple candy… you name it! Oh, and don’t forget that Creemee!!! I’ll explain what this is all about later.
This delicious blog post also has another of my favorite recipes in store for you, a cheesecake that doesn’t use sugar but maple syrup! For this blog post I even challenged myself and made a version using maple sugar! So stayed tuned for that!
But first let’s dive a little deeper into how maple syrup is made here in Vermont.
Where does maple syrup come from?
Basically what you put on your pancakes is the reduced and thickened sap coming from maple trees. In Vermont it’s usually the sap from the sugar maple containing about 3-5% sugar already, which is more than any other maple varieties that are also tappable.
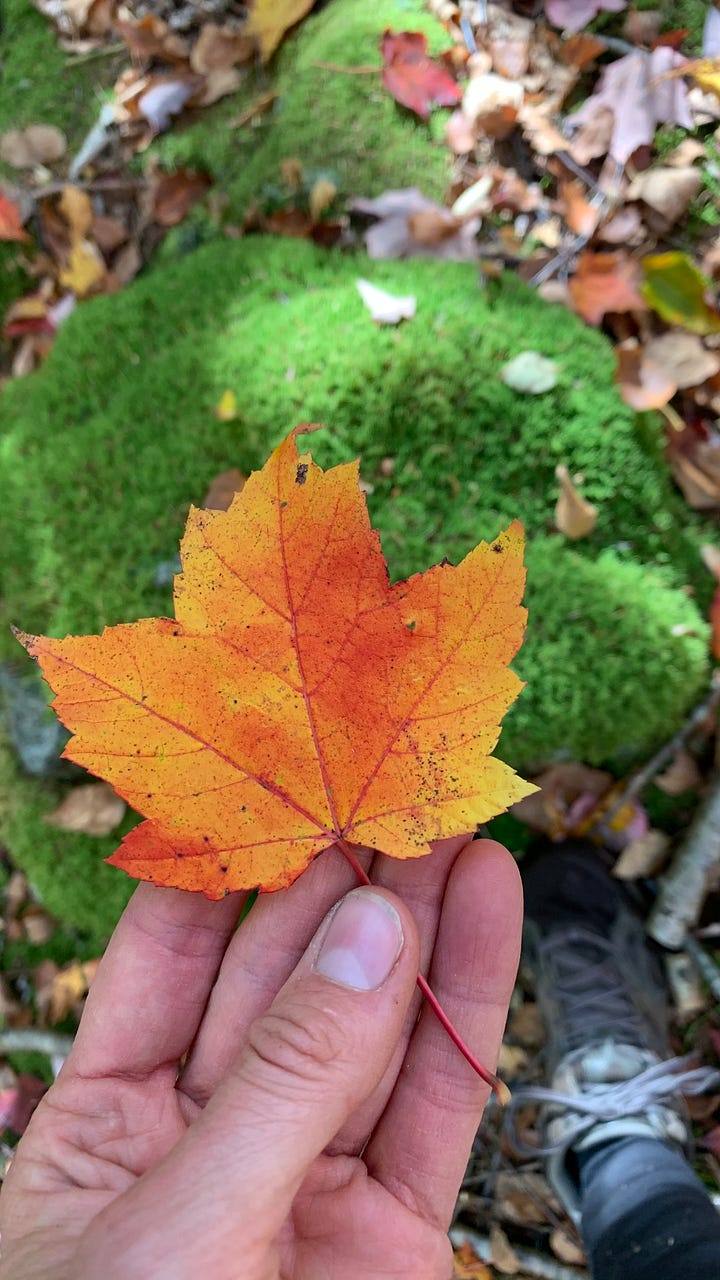
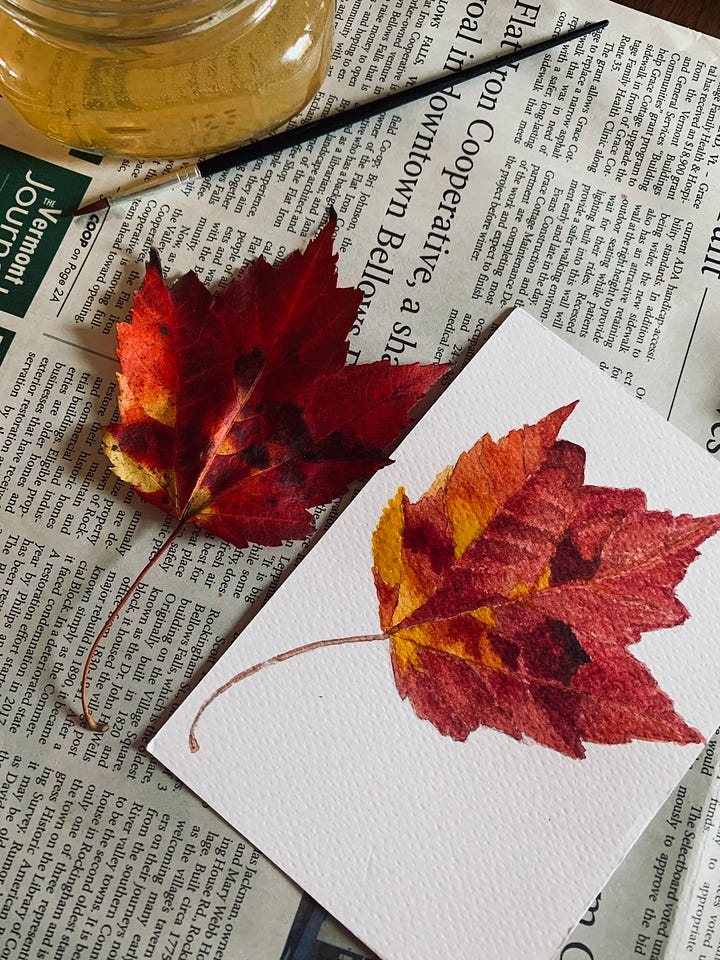
Sugar maples are also the trees that turn Vermont into this beautiful Indian summer paradise every year with its colorful foliage in the fall.
Every winter the sapwood part (underneath the outer and inner bark) of the tree is tapped, meaning the sugar makers tap holes in them, deep enough for the precious sap to flow into the metal buckets, as it’s being done traditionally - and smaller operations are still doing that nowadays - or into tubes and tubing lines (they’re usually blue in Vermont) that go all the way to a collection point where the sap is filling tanks and tanks with sap.
But, this sap doesn’t run all winter and every day. It needs a certain weather and temperature condition. When the nights are cold, usually below freezing, and the days are getting warmer during daytime with the sun shining on the trees, the sap can’t be stopped from running.
The busiest time for a sugar maker is usually between mid/late January until the end of March or even up to early April as we are experiencing it now. Due to the colder weather with snowstorms lately, cold nights and milder days, maple operations are still being busy and making up for the poorer days and weeks earlier this year. The winter was way too mild as they say.
How is maple syrup made?
Simply put maple syrup is made by boiling the sap. For a long time. It needs about 4 gallons 150 liters) of sap to make 1 gallon (3.8 liters) of syrup.
People are still doing it in their backyards and on their homesteads, boiling the sap over night in a cauldron or in a big pot, even over an open fire. It’s an enduring process.
While researching for this article I found a neat little story, an Abenaki (the Native Americans of that area) legend to be precise, telling of Gluskap, the Creator, and his people.
“The villagers had plenty of food, their lives were filled with abundance and their bellies with sweet sap running from the trees as sweet and thick as honey.
One day Gluskap traveled through some of the villages finding them abandoned, houses in disrepair, fields overgrown and the fireplaces for cooking gone cold. No sight of his people.
As he wandered around Gluskap found them lying at the base of maple trees, letting the sweet syrup drip into their open mouths. The maple syrup had fattened them up, making them too lazy to do anything.
Gluskap, trying to scold them to get up and back to their villages, wasn’t successful. His people wouldn’t listen. So he did what he believed was best for them, he filled a container with water and diluted the syrup pouring it over the trees.
People started complaining, of course!
That’s when Gluskap told them, that from now on, they had to work hard for their syrup, telling them that they’d only be able to make syrup once every year and only for a short time.
He made sure to tell them, too, how to make the syrup, collecting the sap with - at that time birch bark containers -, gather wood for fires, then tend the fires and heat rocks and constantly add hot rocks to the sap to boil away the water over many days.”
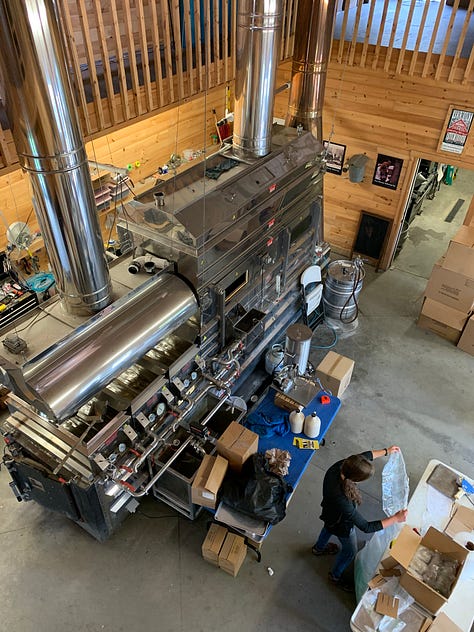
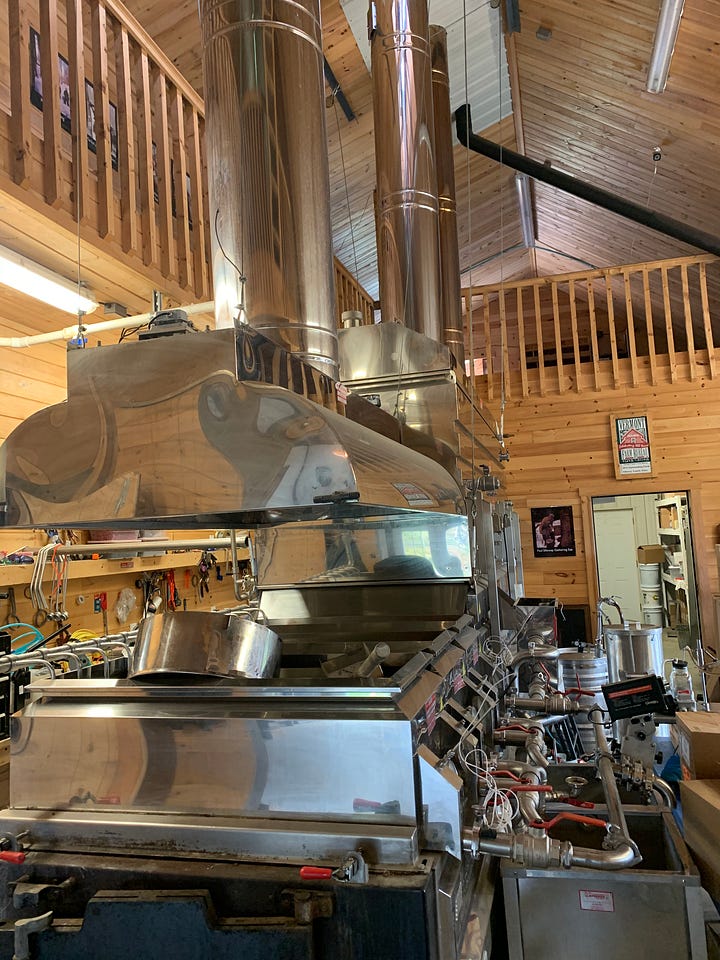
Sugar making process today
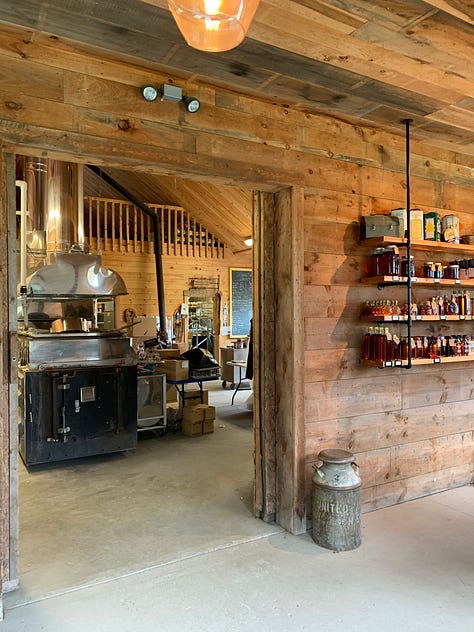
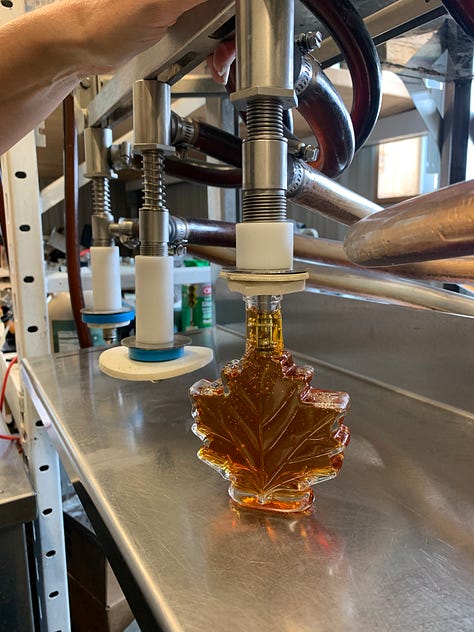
Nowadays boiling the sap is more of an industrial process having the aid of laborsaving and efficiency-enhancing technologies, though the process remains the same. While at the same time making sure that every step minimizes any potential for contamination of the sap by bacteria.
It needs a lot of heat to boil the sap aiming for the reduction of the sap and the sugar concentration increasing. Sap turns into syrup at a certain temperature, which is slightly above the boiling of water. The syrup boiling is finished once the syrup reached a certain density that can be measured with a refractometer for example.
The last step of the sugar making process is the filtration to remove any excess sugar sand (niter) using different methods such as a pressure filter in which the syrup is pumped through a series of filter plates and disposable filter pads.
Bigger larger scale operations use a reverse osmosis system to speed up the process of removing up to 75% of the water content from sap before continuing with the other steps of the sugar making process.
Not every maple syrup is the same
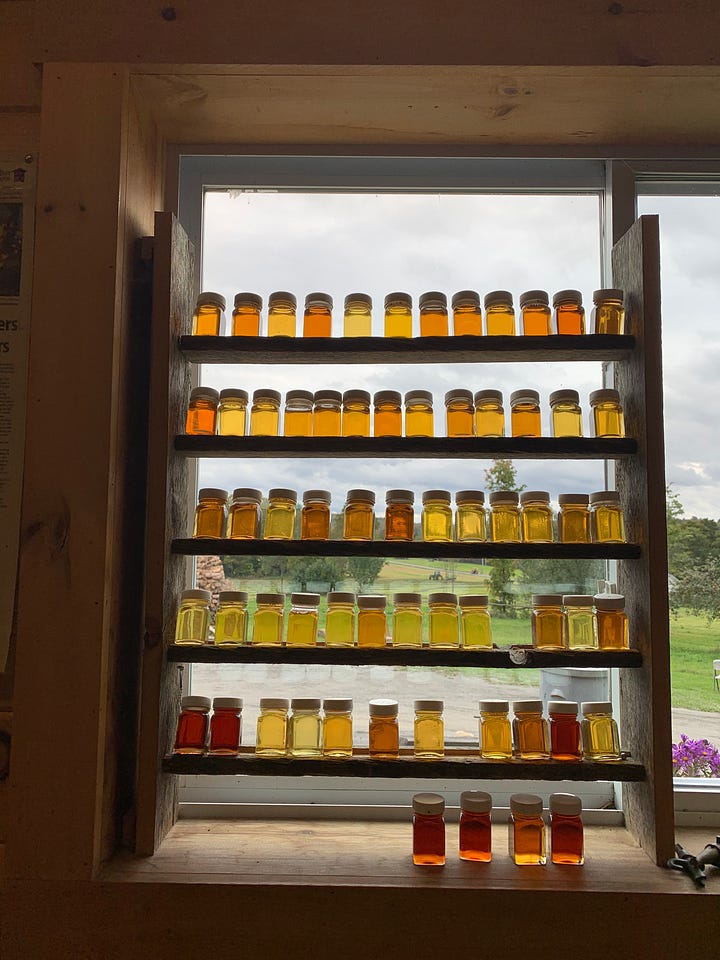
Depending on the time when the tree was tapped, the amount of sugar in the sap while tapping and some other factors during the sugar making process you’ll end up with different grades of syrup. Some are lighter in color and in taste, some are darker and more bold/robust in taste. I prefer the latter, because I like the stronger more caramelly flavor to it.
Vermont usually uses the grading system of Amber or Amber Rich, Robust or Dark Robust or Strong.
Different maple products
As mentioned in the beginning, there’s a whole bunch of different products out there that stem from maple syrup, maple sugar, maple cream or butter, maple candy, and different ways to use the syrup, too.
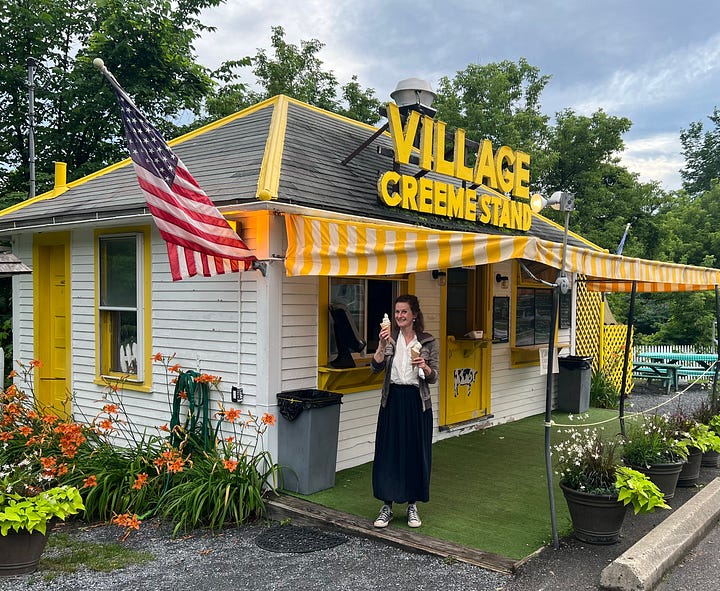
If you ever come to Vermont, getting a Creemee is an absolute MUST! It’s the ice cream of the Vermont summer. A soft serve infused with maple flavor.
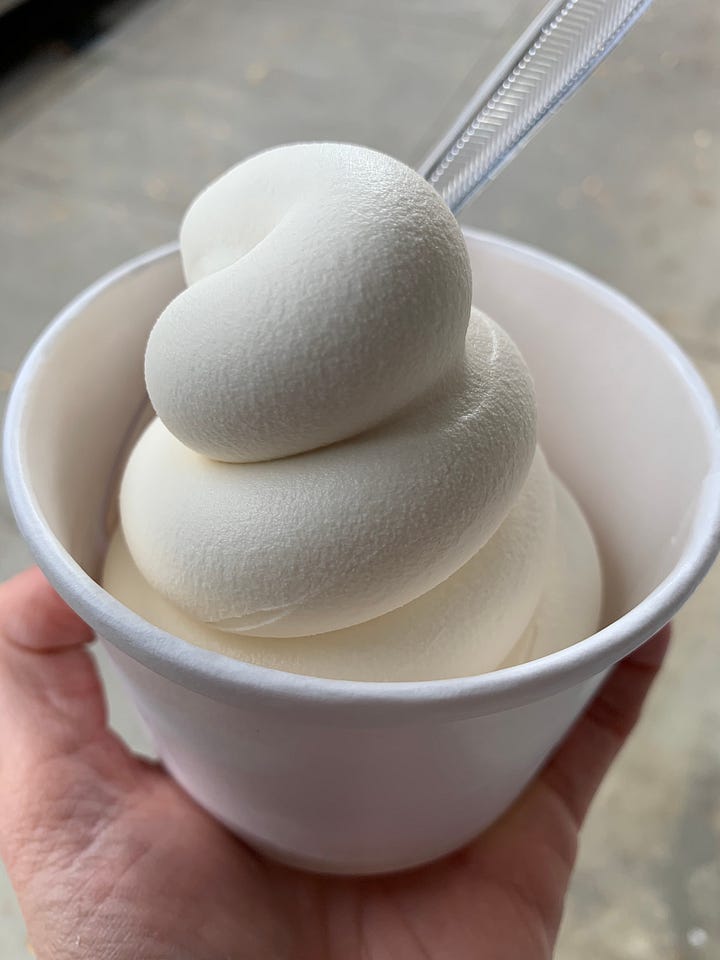
Or, if you happen to be here in winter, try sugar on snow, that is maple syrup poured on some snow, literally, turning the whole thing into a thin and glassy taffy.
For this blog post I decided to use another maple product for my favorite cheesecake recipe that I usually make using maple syrup. I try-tested and tasted maple sugar for the first time, which can be substituted for regular light or brown sugar at a ratio of 1:1.
The recipe: Mel’s maple cheesecake
For a springform pan of 10” or 11” in size
Graham Cracker Crust
1 ¾ cups of Graham Cracker crumbs (pulse in a food processor)
6 tbsp butter (melted)
Cheesecake filling
40 oz cream cheese (five 8 oz packages) - at room temperature
1 cup maple syrup or 3/4 cup of maple sugar
½ cup sour cream - at room temperature
4 large eggs - at room temperature
2 tsp vanilla extract
½ lemon (zest)
Fruit sauce Topping
Blend your favorite summer fruits (strawberries, raspberries, mango, peaches) in a Blender, yielding about 2 cups
Add maple syrup (optional)
Add ½ tsp vanilla extract (optional)
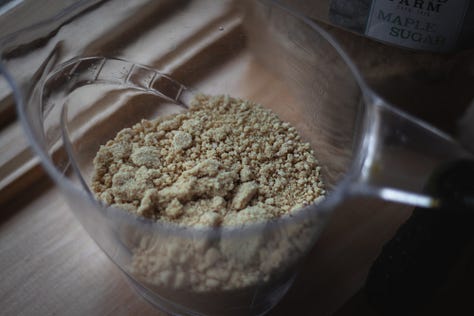
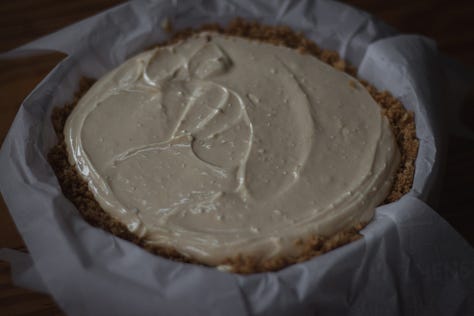
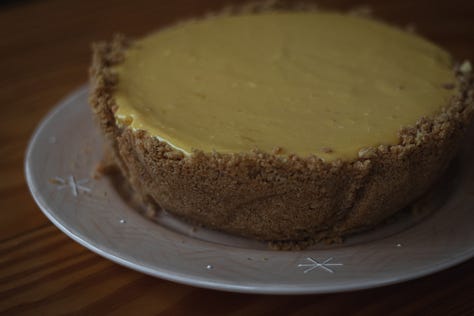
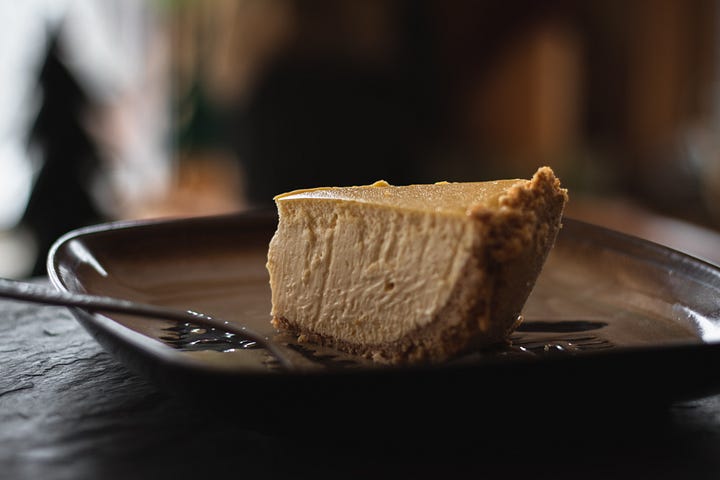
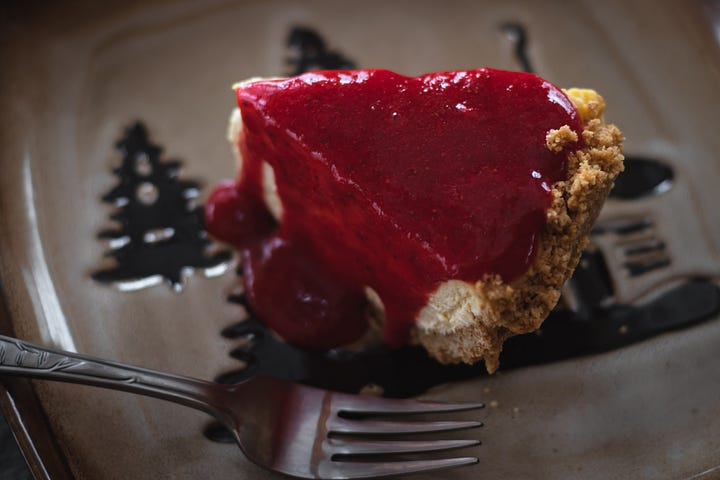
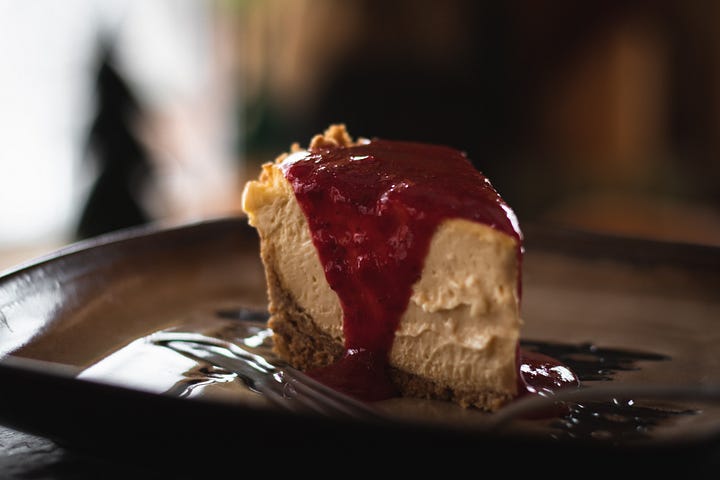
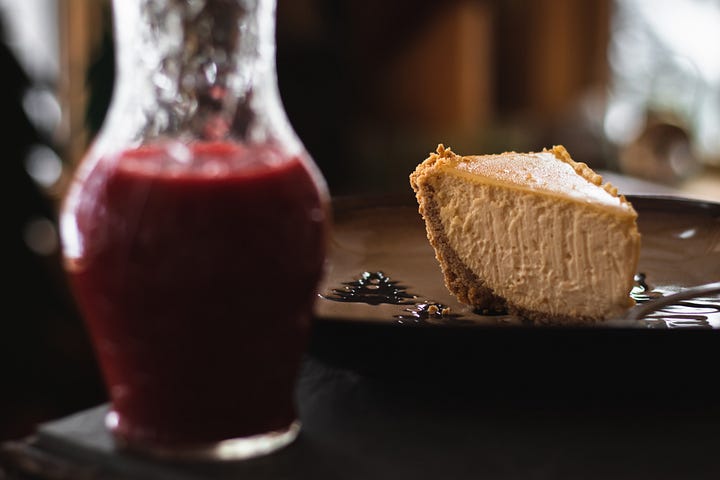
Prepare this cheesecake one day ahead of serving to make sure it's completely chilled.
Place oven racks in the center of the oven. Preheat the oven to 350 degrees. Grease your pan.
In a medium sized bowl, stir Graham cracker crumbs with the melted butter, until well incorporated. The texture looks like damp sand. Use a 1 cup measuring cup to press crust into the bottom and halfway up the sides of a 9-inch springform pan. Bake for 7 min. Remove from the oven and set aside.
Reduce oven temperature to 325 degrees.
In a large bowl mix the cream cheese with an electric mixer/beater until smooth. Scrape the sides and add in the maple syrup or sugar, if using, lemon zest, sour cream and vanilla. Mix again until incorporated. Scrape the sides and mix again.
Add one egg at a time, mix well in between. Stop mixing once all eggs have gone in the bowl. Make sure, though, the mixture is smooth. If there are a few lumps, try folding them in with a spatula. (I didn’t do a very good job this time around.)
Before pouring the cream cheese mixture into the pan, tap the bowl on the counter to remove as many air bubbles as possible.
Pour the filling into the springform pan on top of the crust. Tap out any last air bubbles from the pan. Gently smooth the top with your spatula. It will be quite full.
Put a baking sheet underneath the pan in the oven, because some of the excess liquid can drip from the pan and you wouldn’t wanna ruin your oven or end up with a heck of a cleaning afterwards. (Omit this step, when using maple sugar)
Bake for 30 min at 325 degrees. Reduce temperature to 250 degrees and continue baking for another 45-50 minutes. After baking, turn off the oven, but keep the cheesecake inside for an additional 30 min, without opening the oven door. Crack open the oven door after that time to let cool slowly for one hour before removing from the oven. Bring the cheesecake to room temperature on the counter (3-4 hours) before transferring it to the fridge. Cover with plastic wrap or simply a plate.
Refrigerate overnight.
Prepare your fruit sauce, either the day of baking and store in the fridge until the next day. Or prepare fresh on the day of serving.
Pour the sauce on top of your cake. Top with fresh fruits (optional). Slice and serve.


